This guide will walk you through the process of setting up an AWS account, creating an S3 bucket with an IAM user and configuring Dropzone to upload to this bucket.
The first step to getting Amazon S3 working with Dropzone is to create an Amazon Web Services (AWS) account. An AWS account allows you to use many different cloud services that Amazon provides including S3 storage. If you already have an AWS account setup and a bucket you would like to upload to, you can skip down to setting it up in Dropzone.

Create an Amazon AWS Account
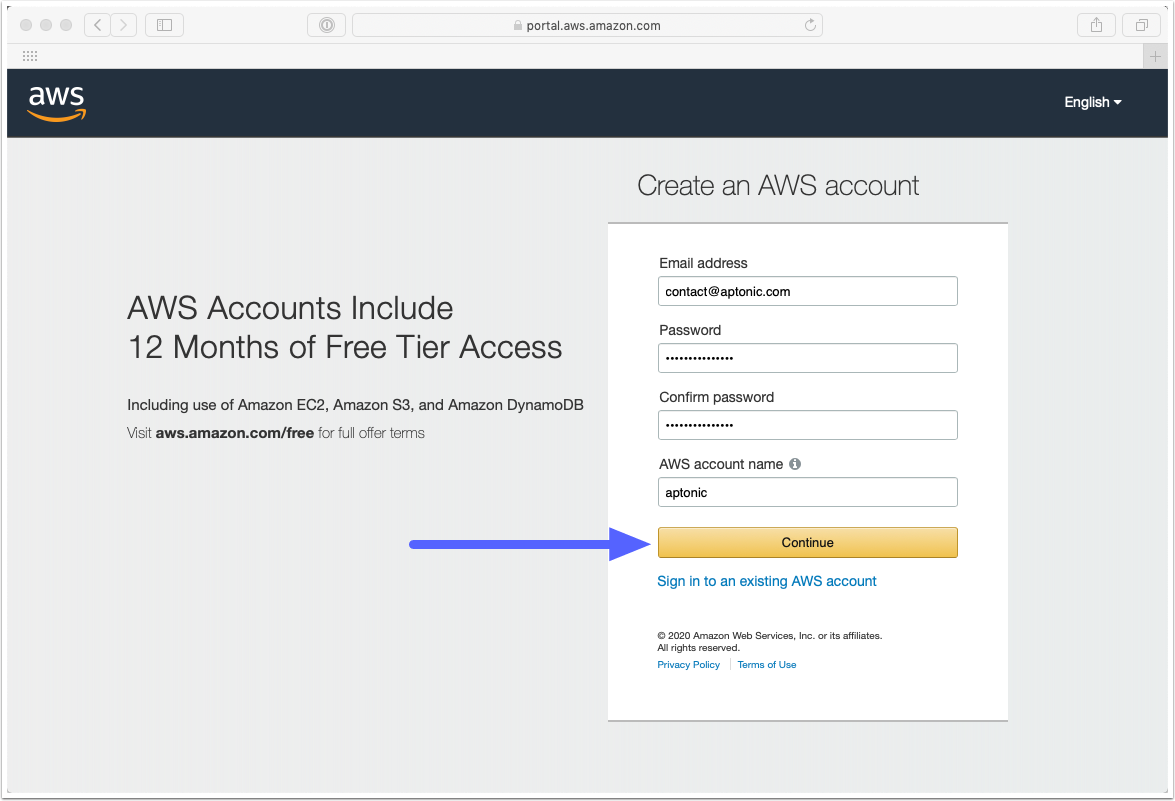
To create an AWS account, visit http://aws.amazon.com and click the 'Create an AWS Account' button.

Choose an AWS Email address, password and account name
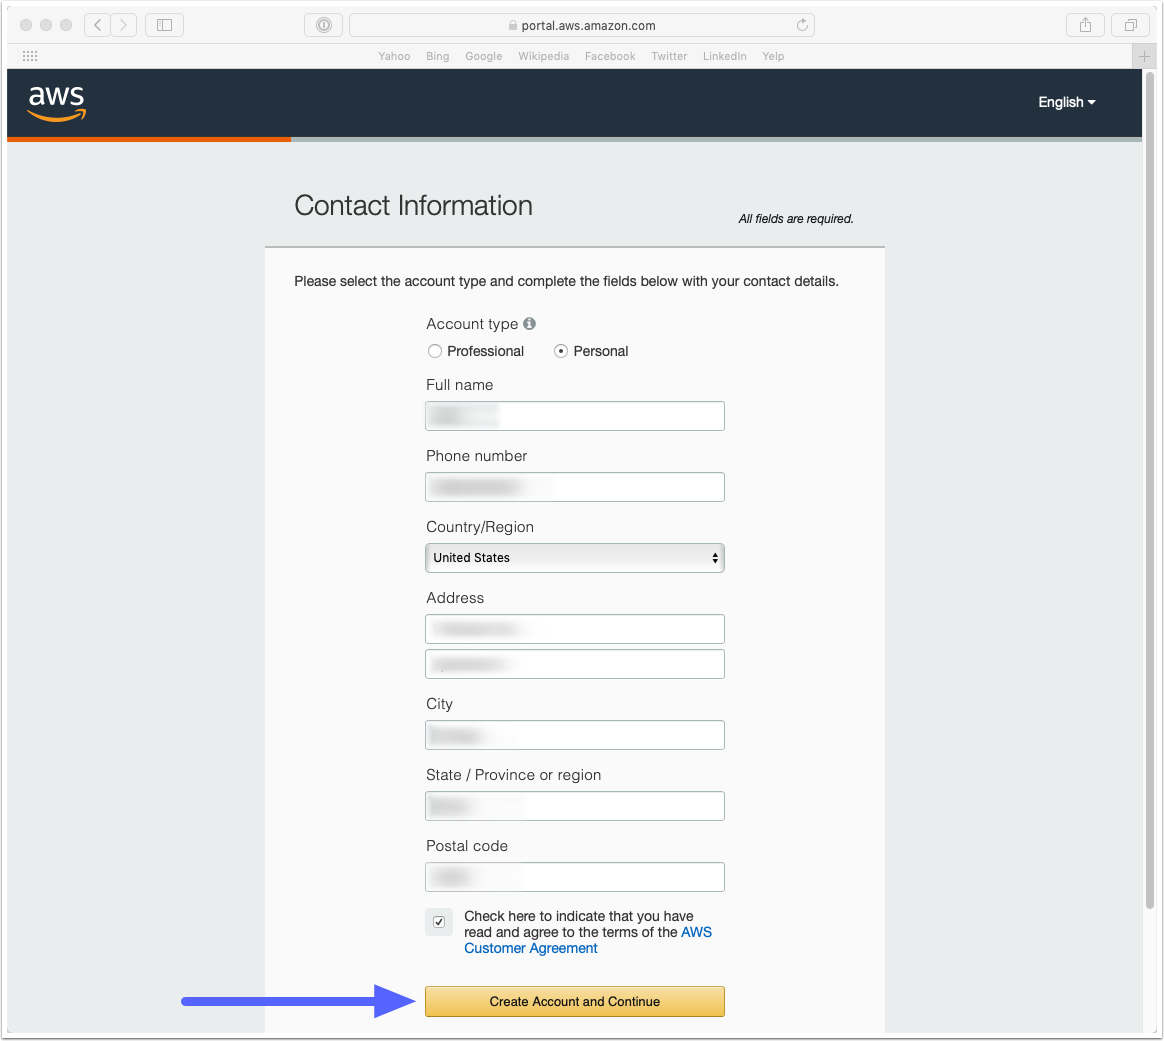
Enter contact info and choose the 'Personal' account type
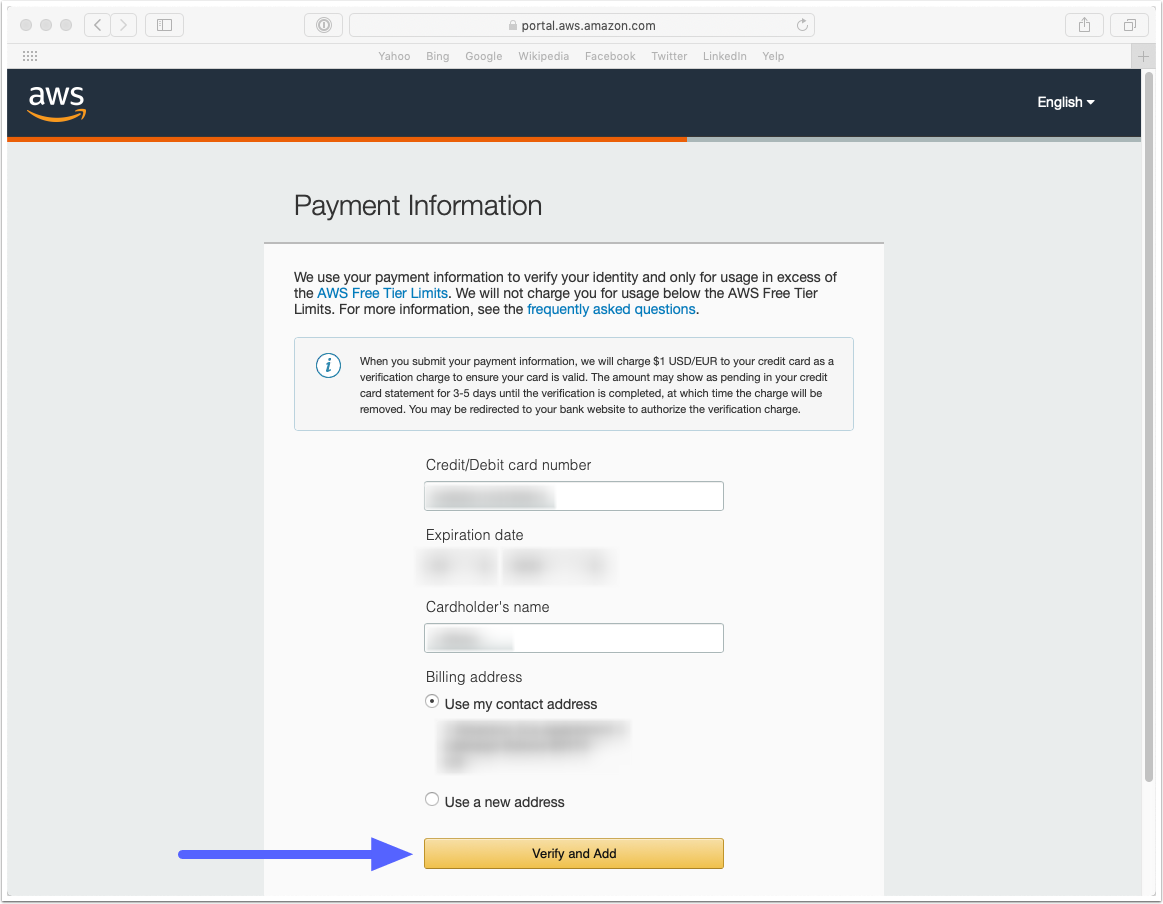
Enter payment information
You will need to provide credit card info in order to create an AWS account. New AWS customers get 5GB of free storage and 15GB of Data Transfer each month for one year.
For more details, see the full Amazon S3 pricing information at https://aws.amazon.com/s3/pricing
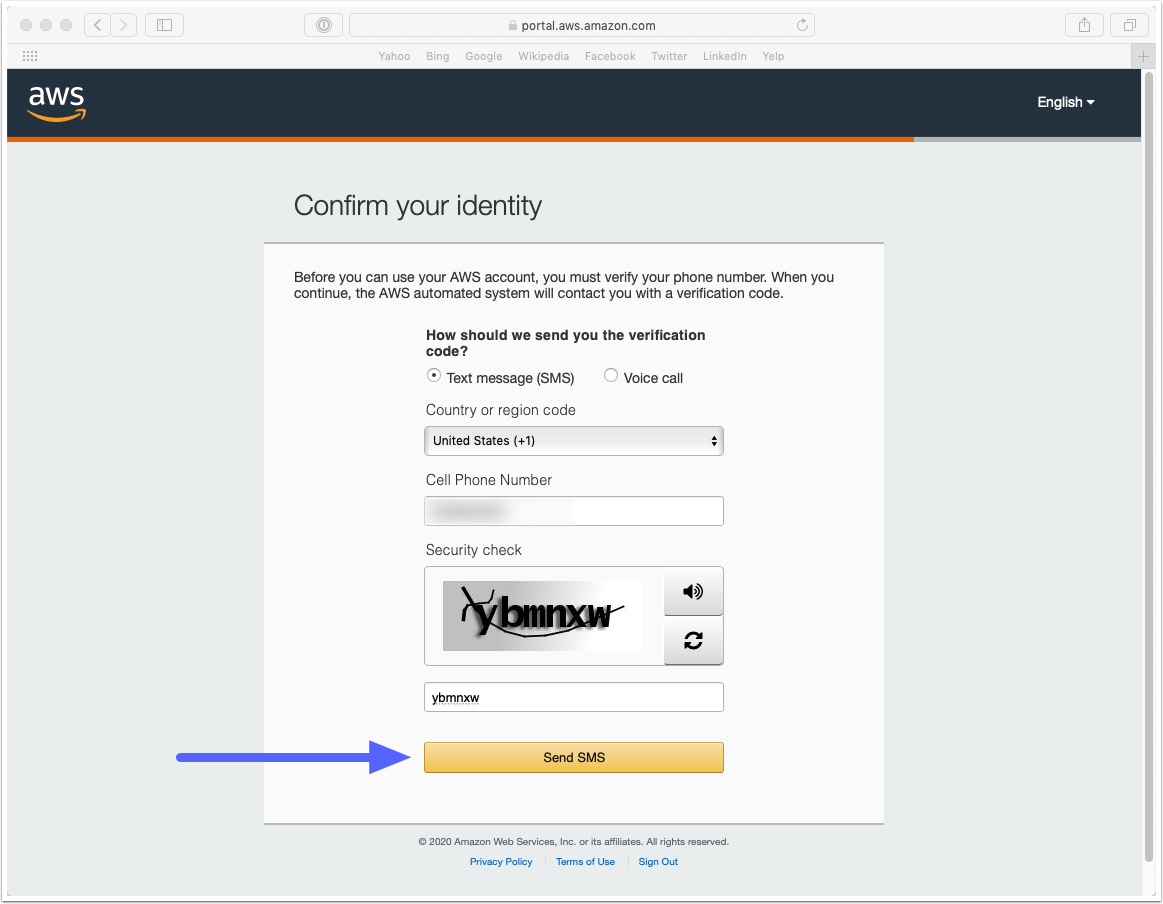
Verify your account
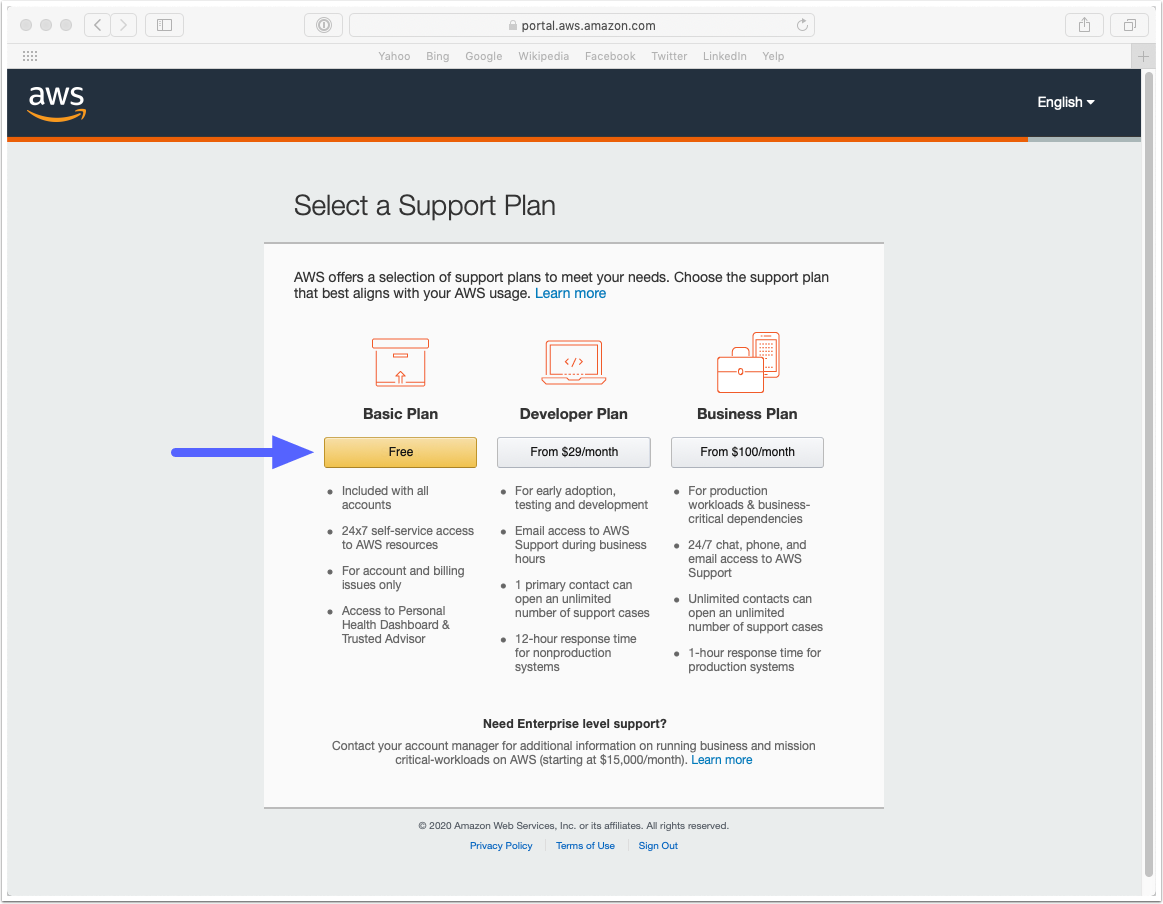
Choose the 'Free' support plan
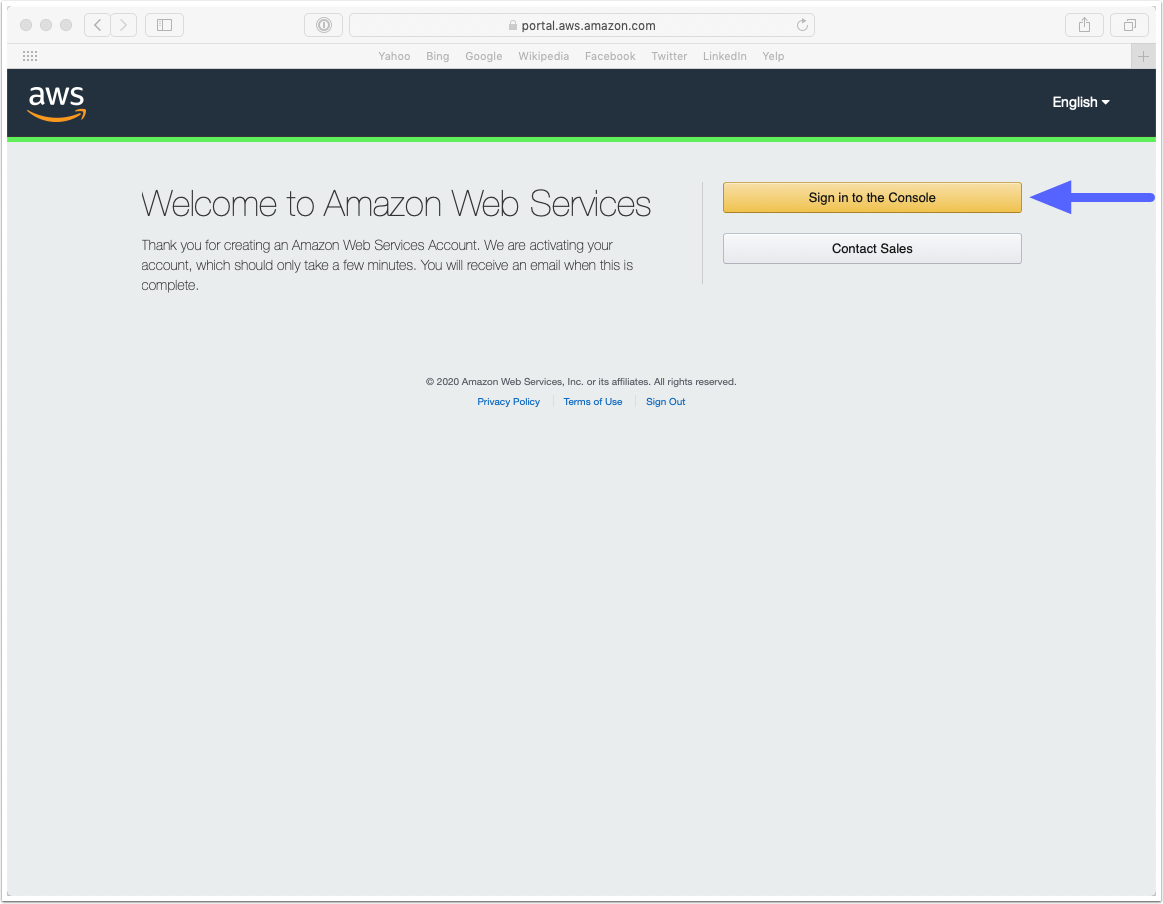
Sign into the AWS Console
After creating your acccount, sign in with your new account details at https://signin.aws.amazon.com
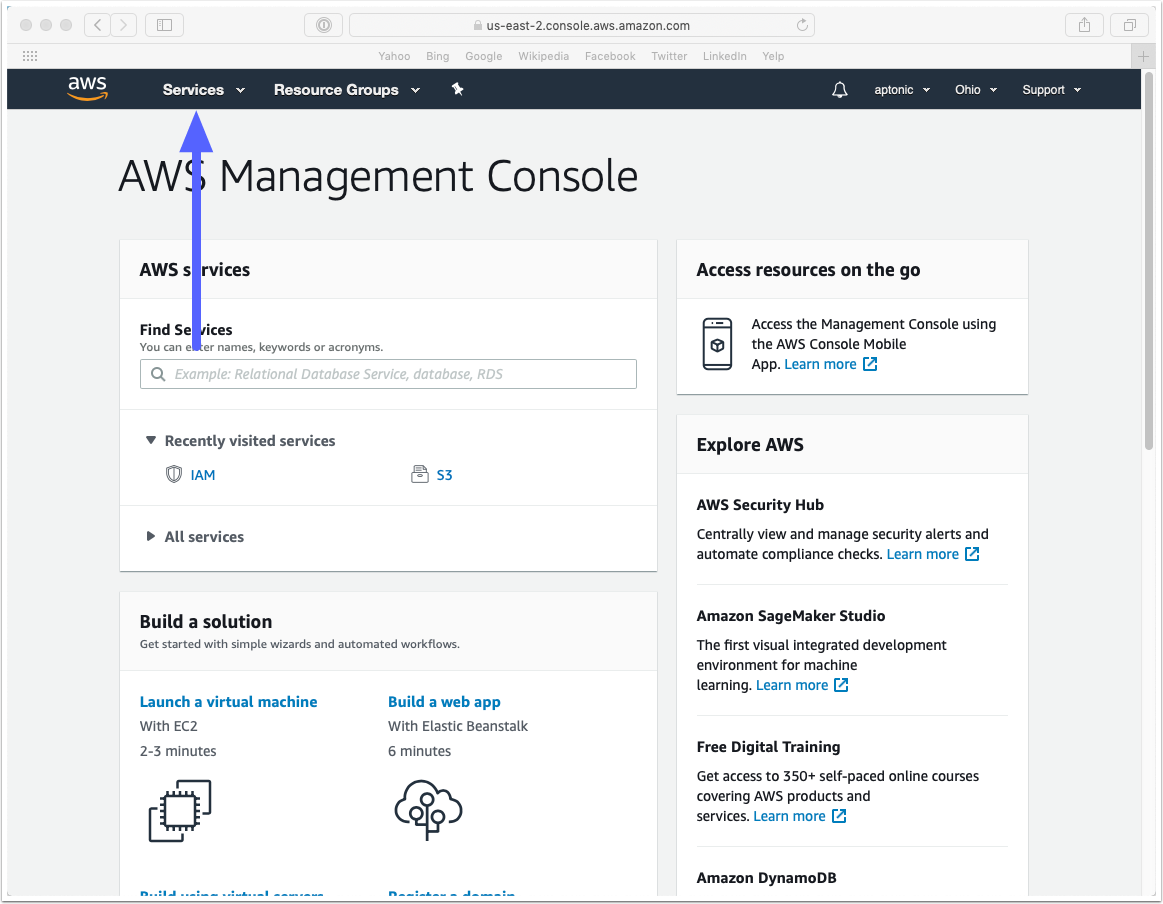
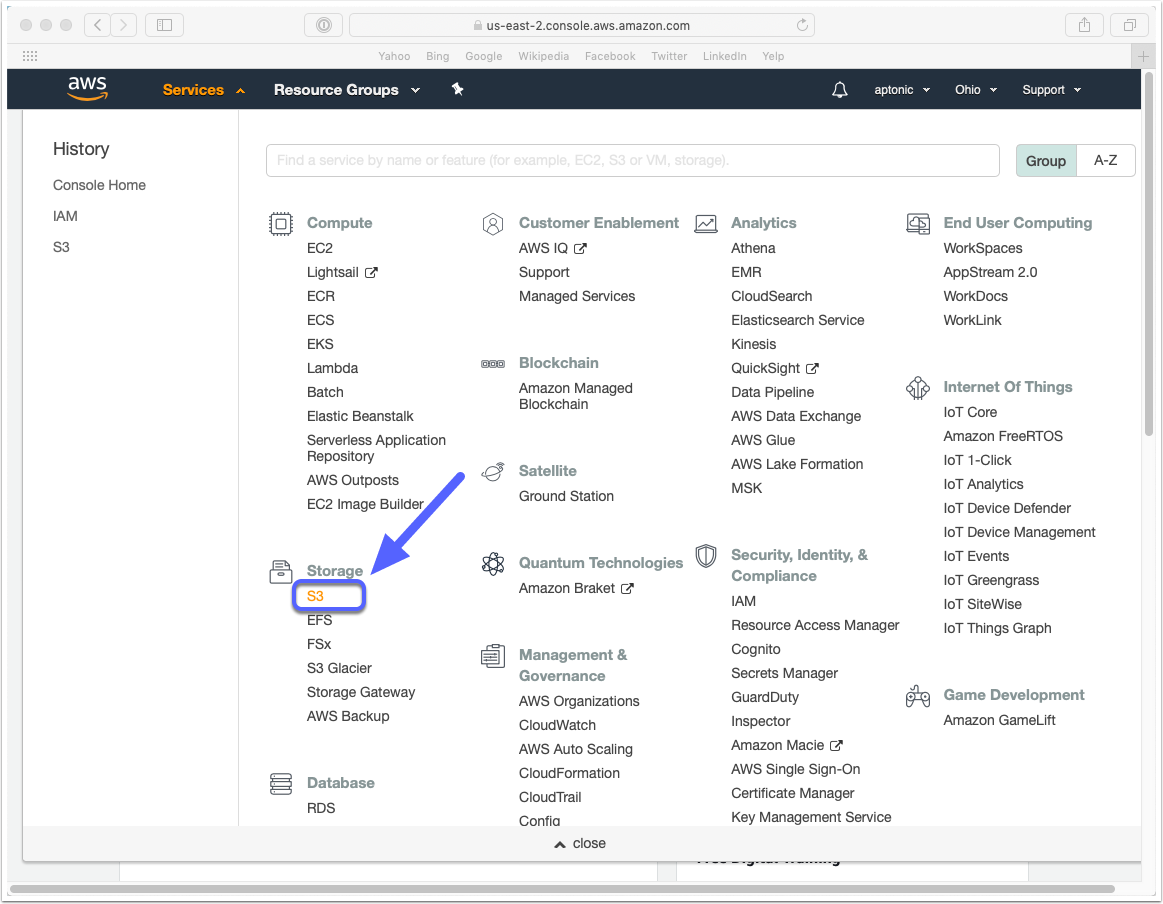
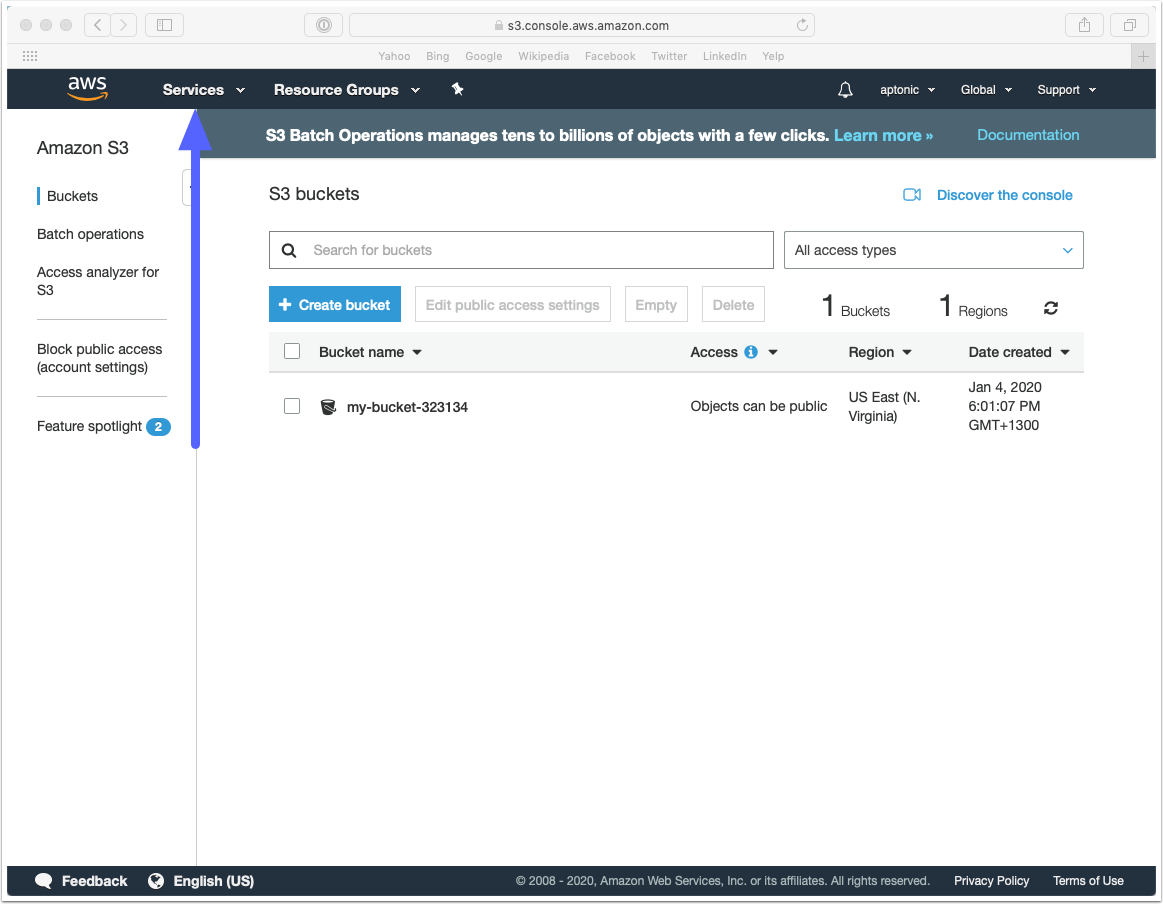
Click on the 'Services' menu
Choose 'S3' from the list of available AWS services
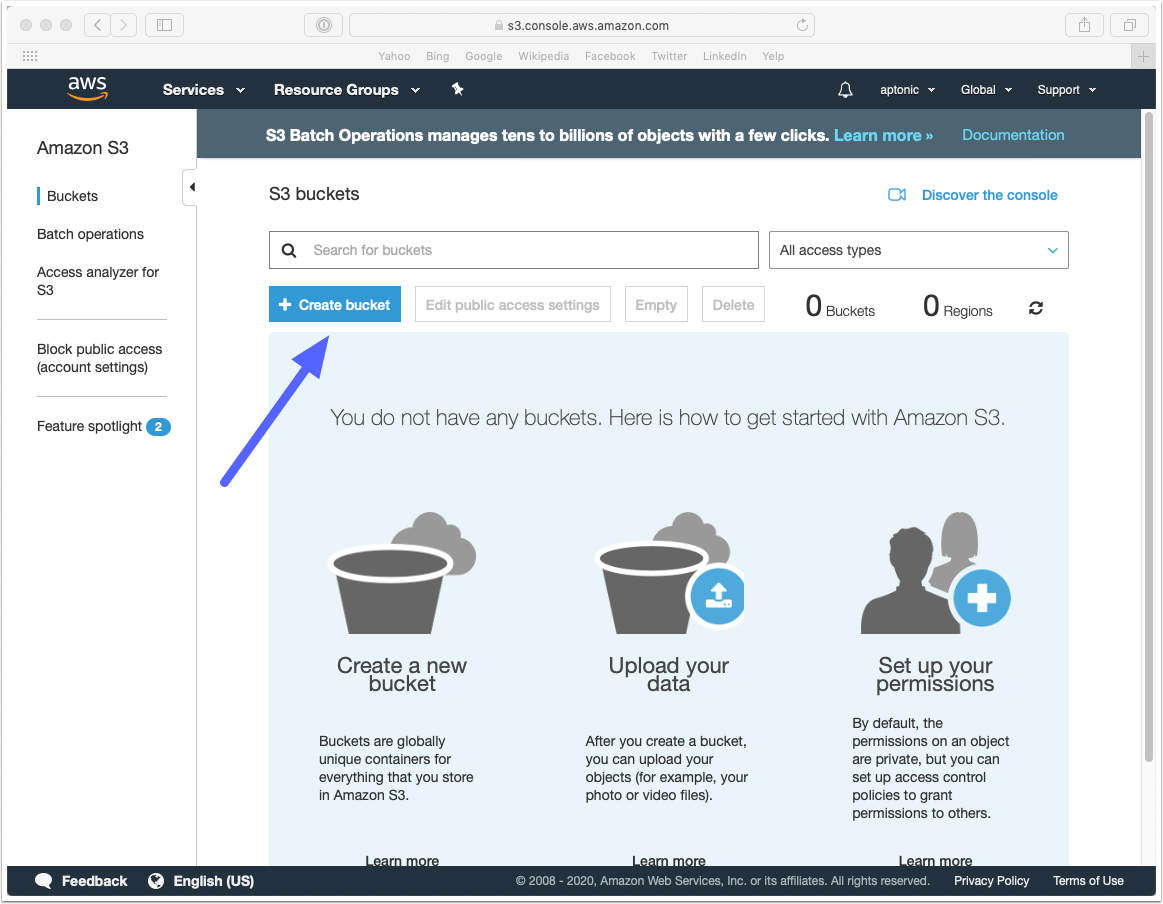
Create a new Amazon S3 bucket
Enter a name for your bucket. This name must be unique
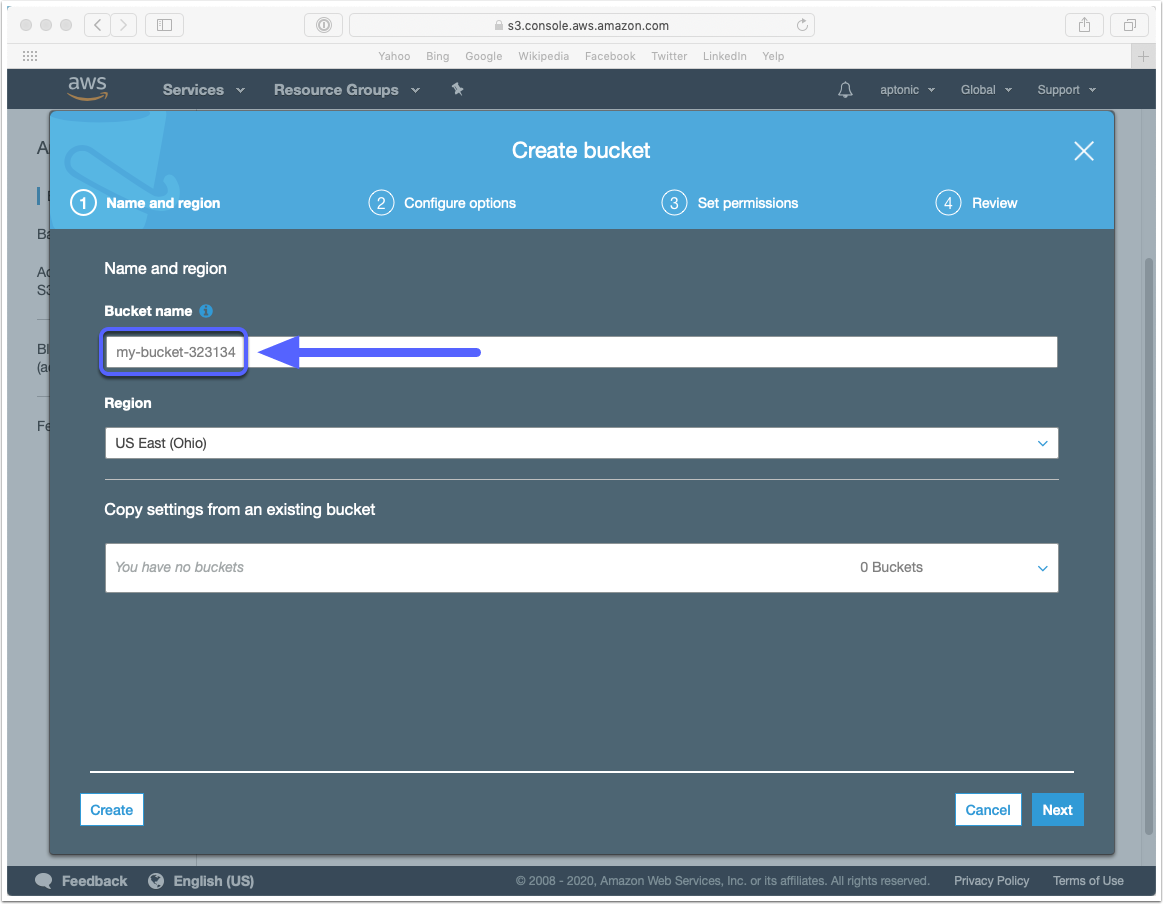
Choose the 'US East (N. Virginia)' region and then click the 'Next' button
Note: You can use Dropzone's Amazon S3 integration with S3 buckets in other regions - If you do this then you will need to change the 'Server' URL field based on the regional endpoints provided by Amazon here: https://docs.aws.amazon.com/general/latest/gr/rande.html#s3_region
If you choose the 'US East (N. Virginia)' region as shown below then the default Server URL in Dropzone (s3.amazonaws.com) will work.

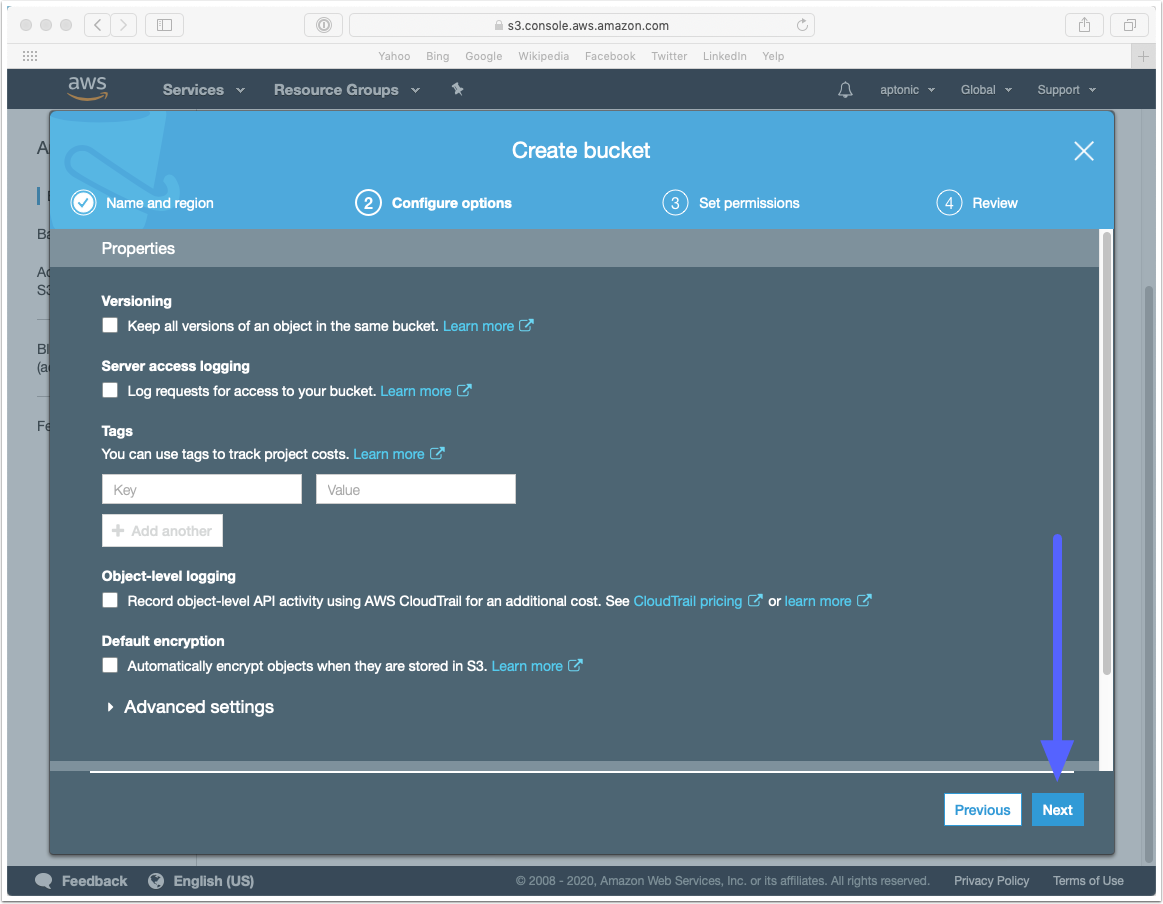
No special bucket properties are required so you can just click 'Next' on the below screen
Untick the 'Block all Public access' checkbox so that Dropzone can make uploaded files available at a public URL after upload and then click 'Next'

Click the 'Create bucket' button

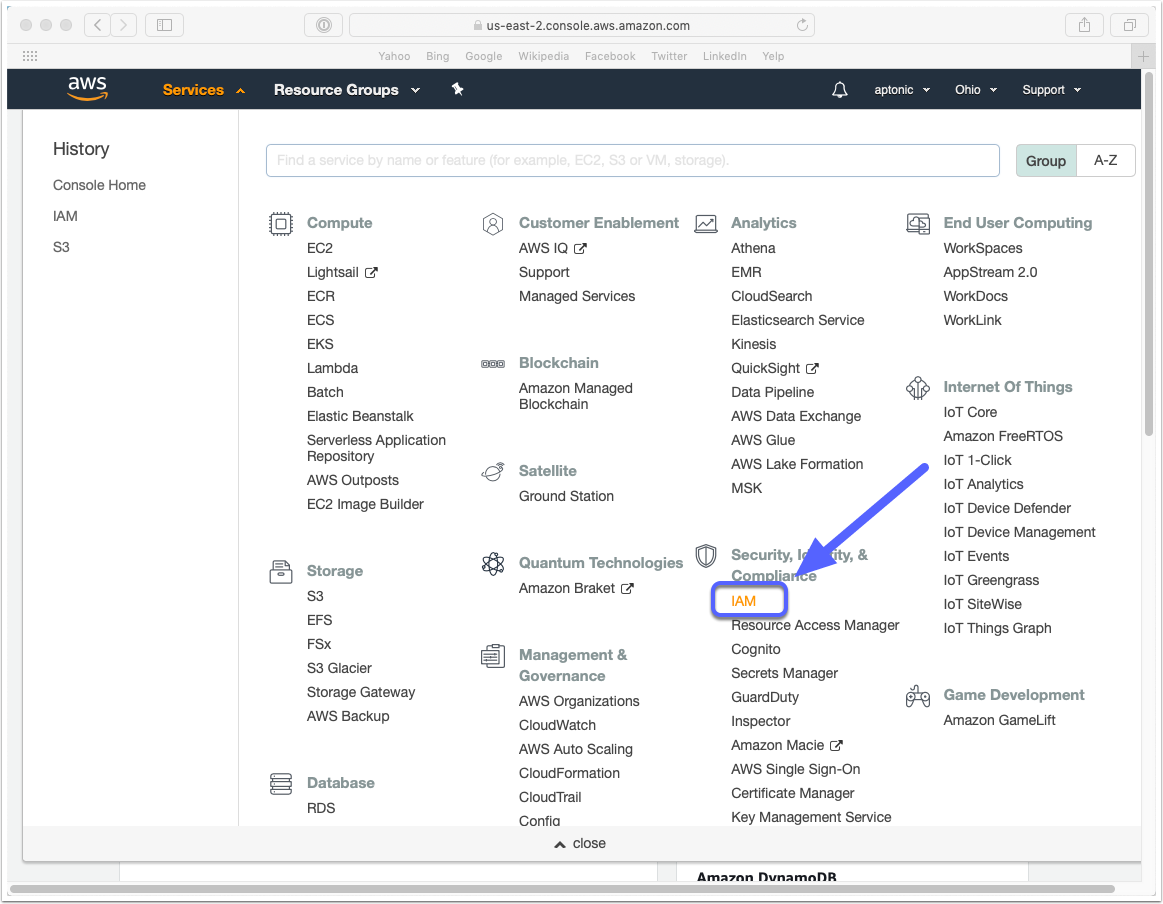
Click on the 'Services' menu
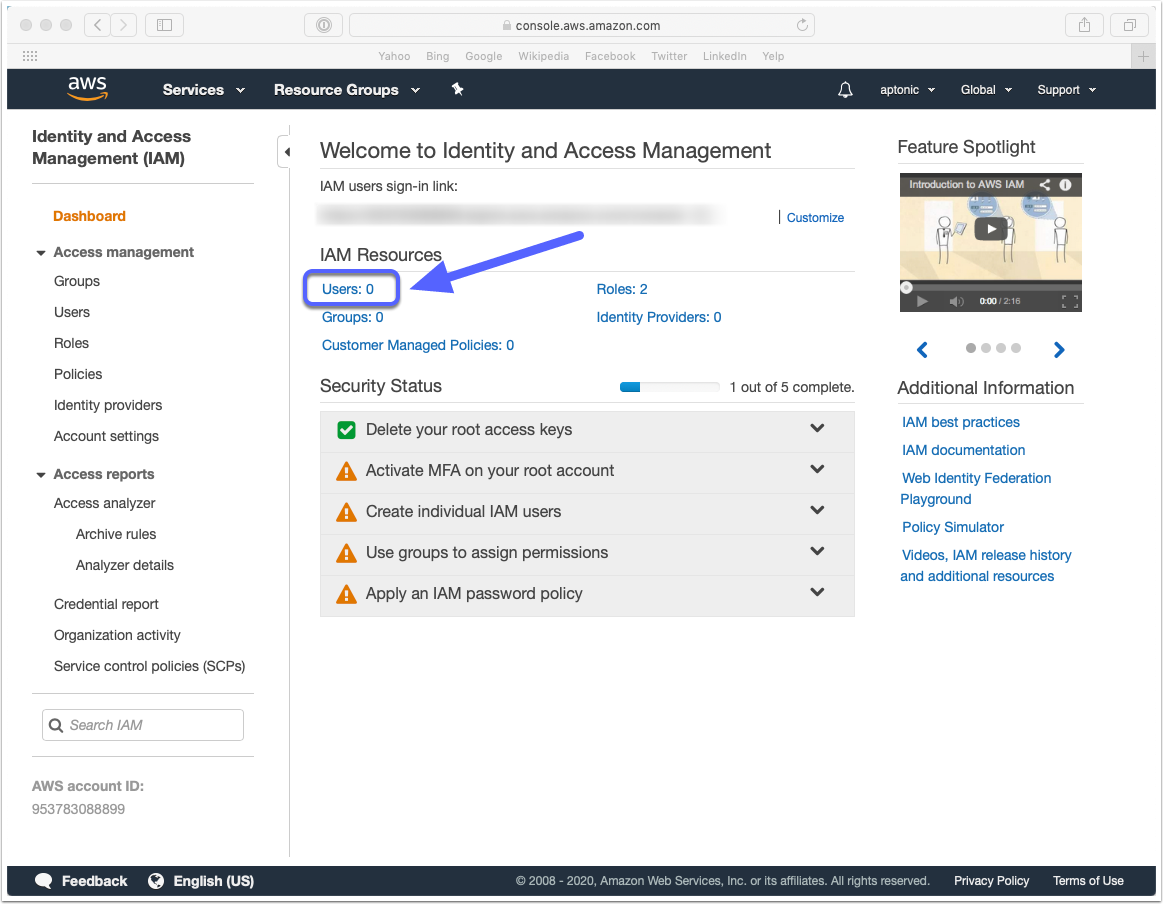
You now need to create a user account (called an IAM user) that will give Dropzone access to upload to the bucket you just created. The below steps will guide you through how to do this.
Choose 'IAM' from the list of available AWS services
Click on the 'Users: 0' link
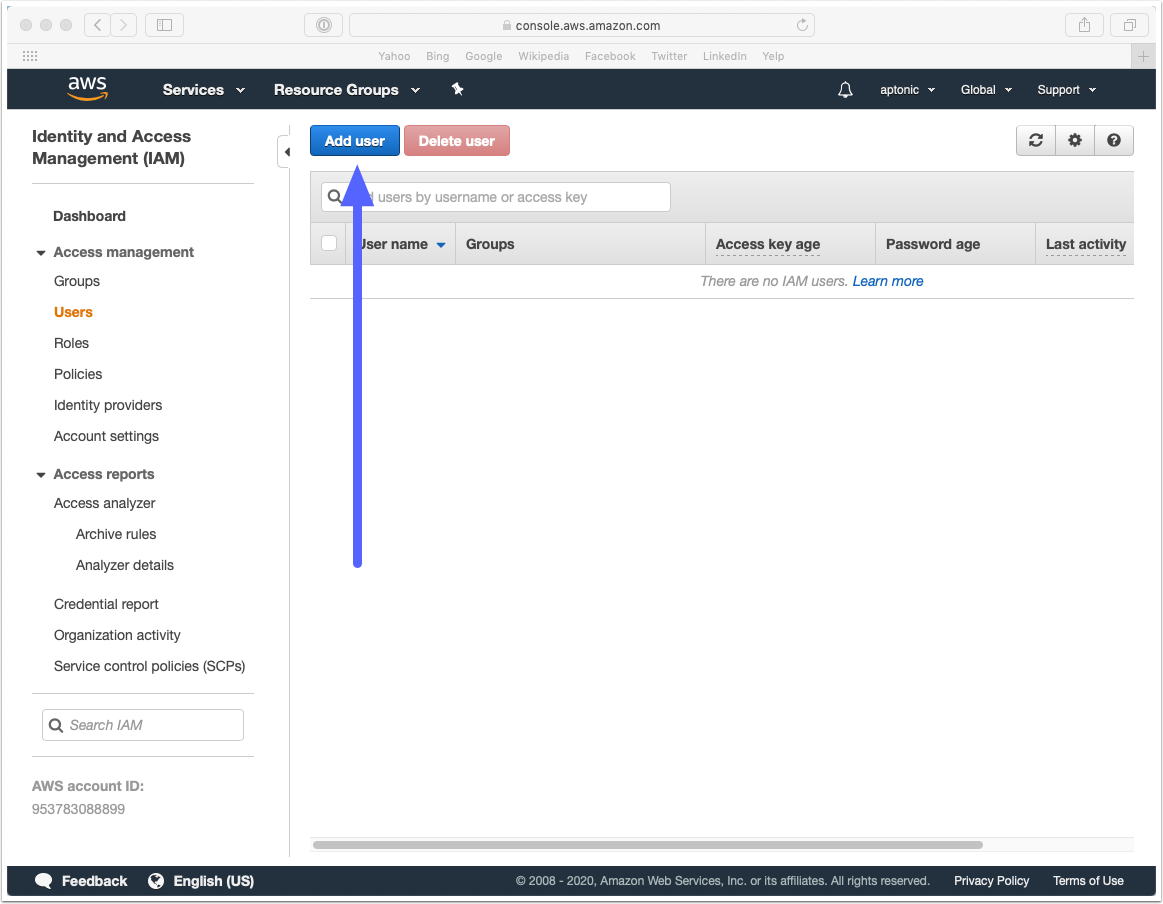
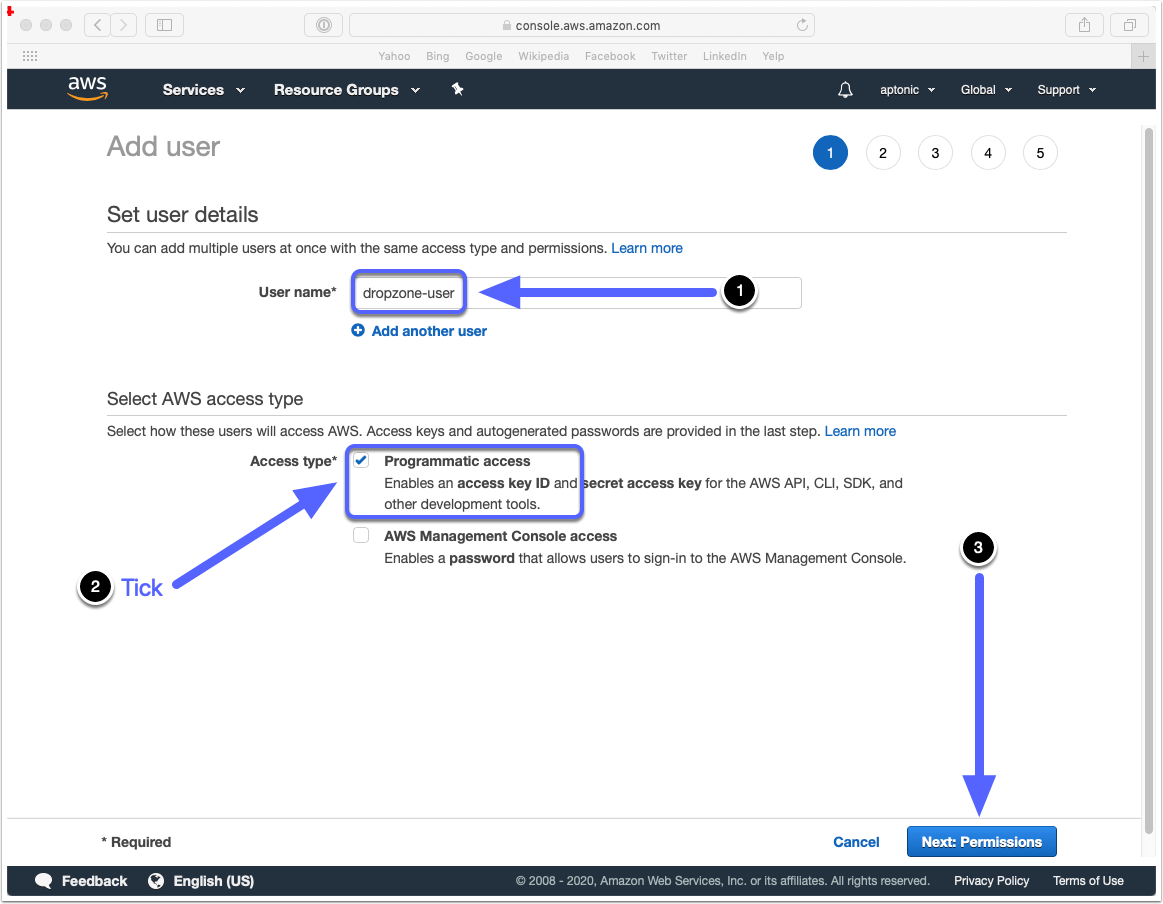
Click the 'Add user' button
Enter a username for the user and tick the 'Programmatic access' checkbox. Then click the 'Next: Permissions' button
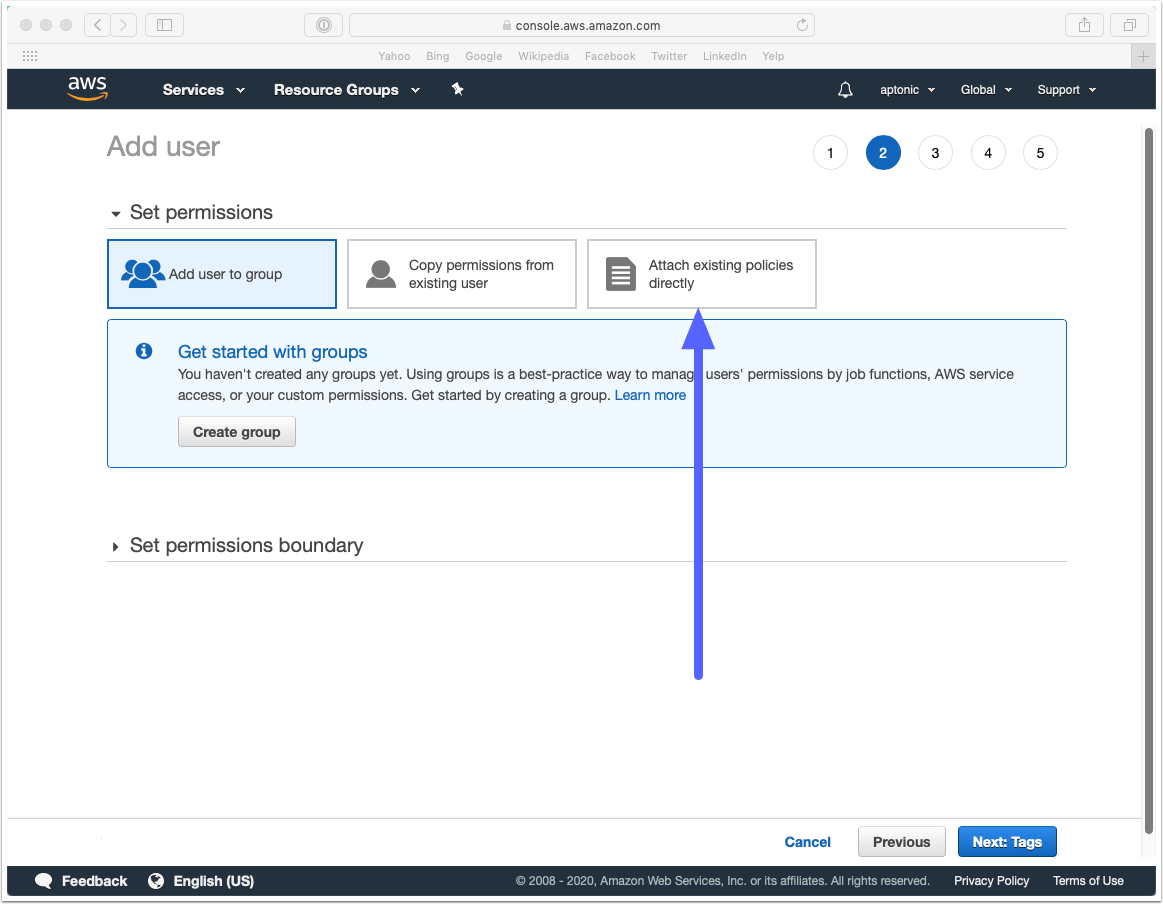
Click 'Attach existing policies directly'
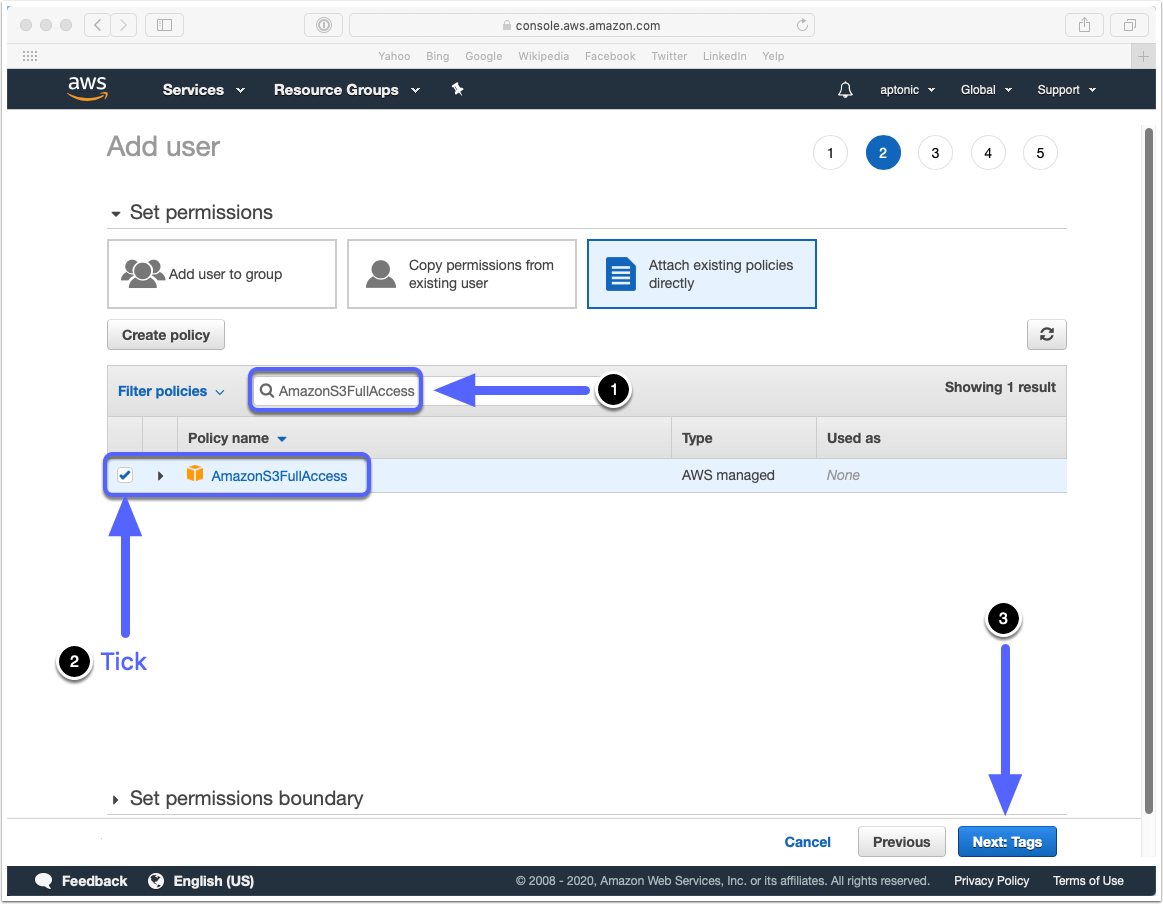
In the search box, find a policy called 'AmazonS3FullAccess' and check the box beside it, then click the 'Next: Tags' button
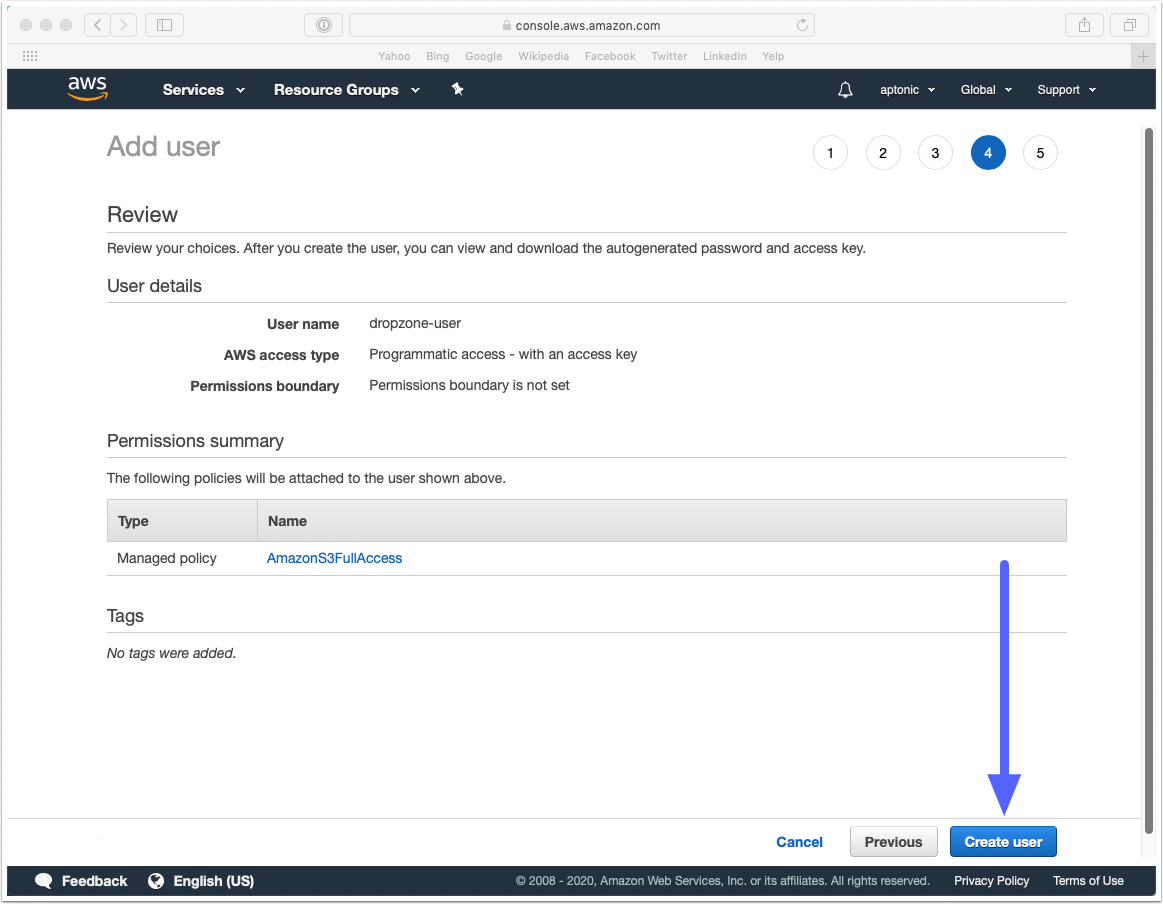
No tags are required so click the 'Next: Review' button

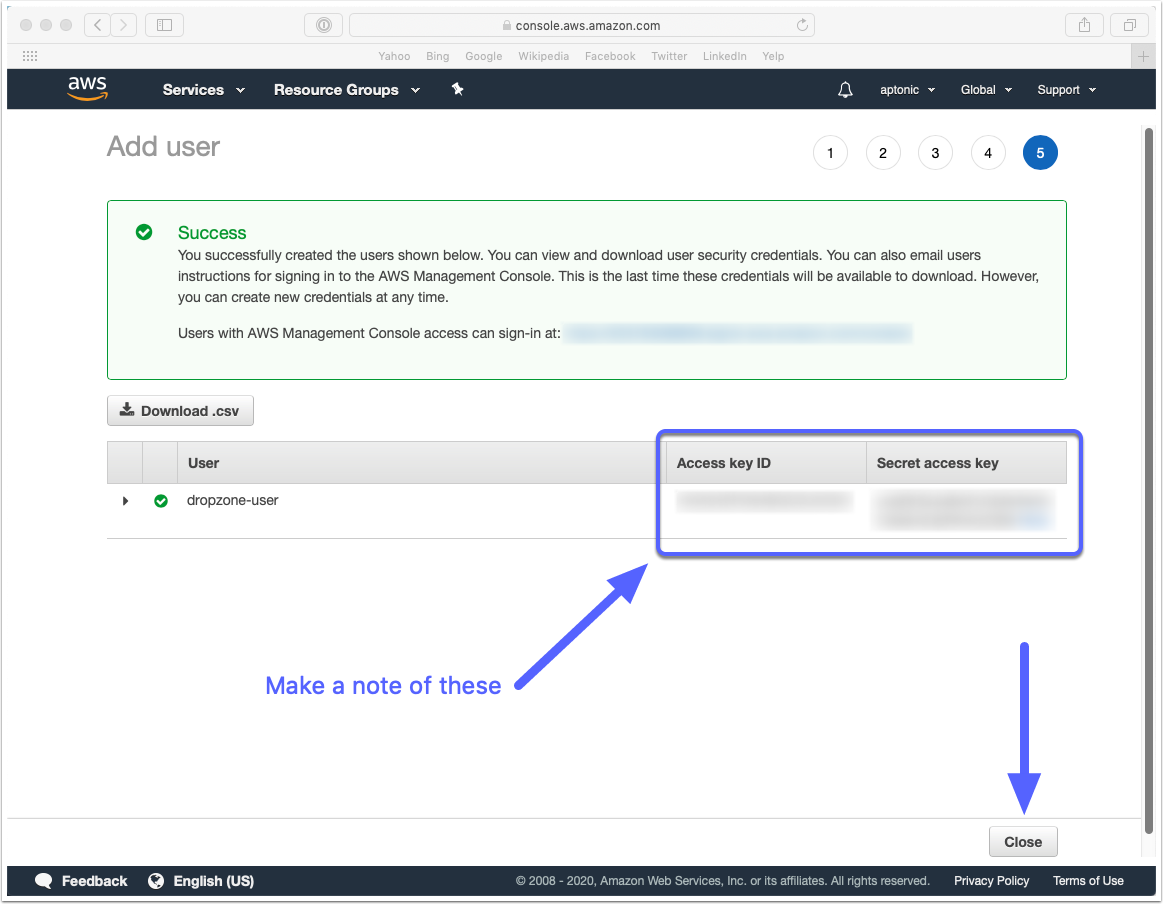
Click the 'Create user' button to finish creating the user
You will now be given the 'Access key ID' and 'Secret access key' for the newly created user. You can only see the secret access key once, so download the CSV as recommended or make a note of these.
Setup the Amazon S3 action in Dropzone
You now have all the required information to setup the Amazon S3 action in Dropzone.
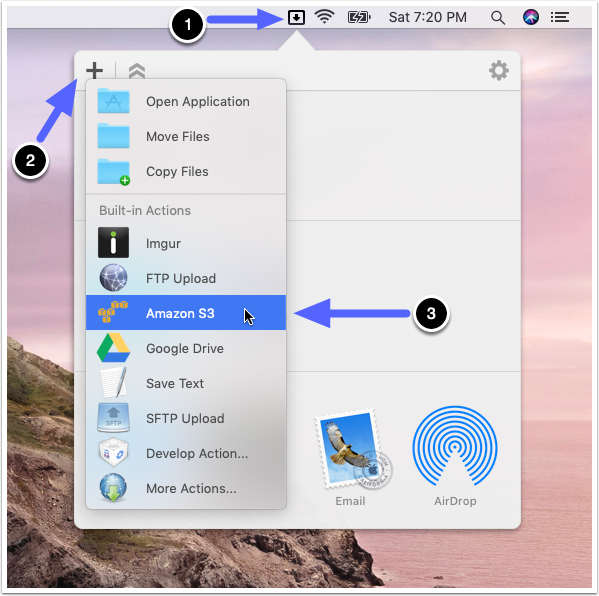
To do this, first open the Dropzone grid by clicking on the menu item, then click the plus icon in the top left of the grid. Then choose the Amazon S3 action from the list.
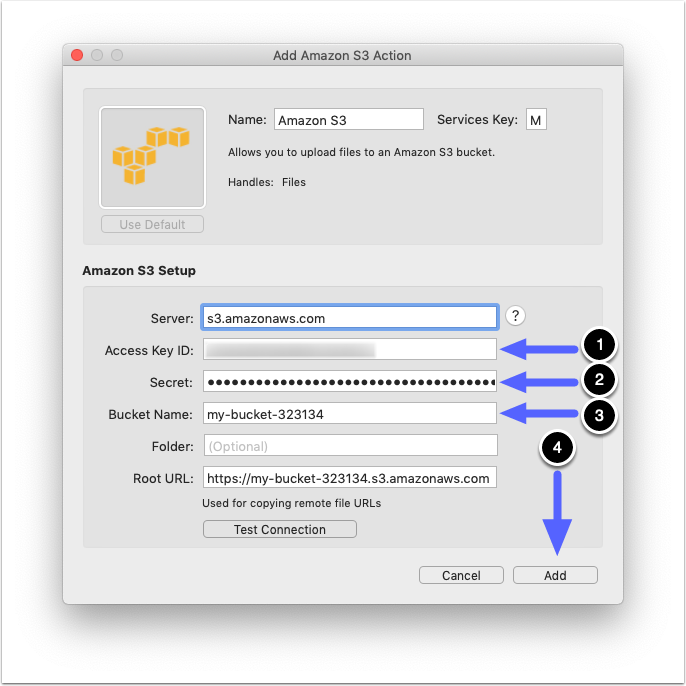
Enter the Access Key ID, Secret access key and bucket name that you got from the earlier steps in the configuration dialog that appears. Then click the 'Add' button to add the new action to your Dropzone grid
Note: The server and 'Root URL' fields will be filled out for you. You can leave the 'Folder' field blank. It's also recommended that you click the 'Test Connection' button to verify everything is configured correctly.
Setup is now complete. You can now upload files to your Amazon bucket by dragging them onto the Dropzone icon which will appear at the top of the screen
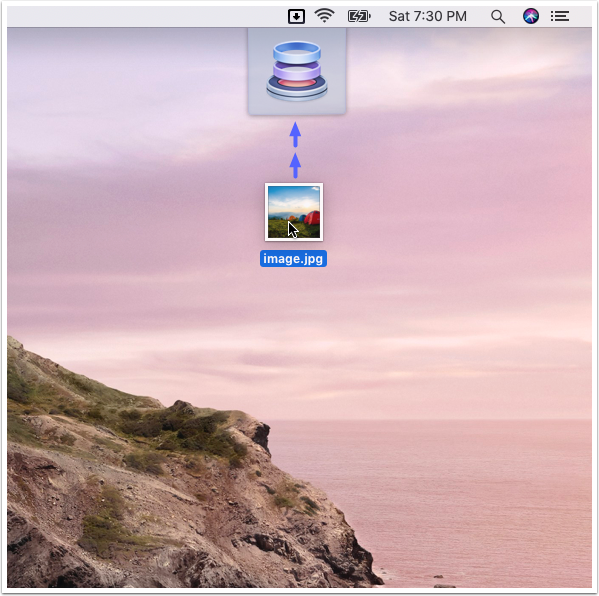
Drop the file(s) for upload onto the Amazon S3 action in the grid to begin uploading

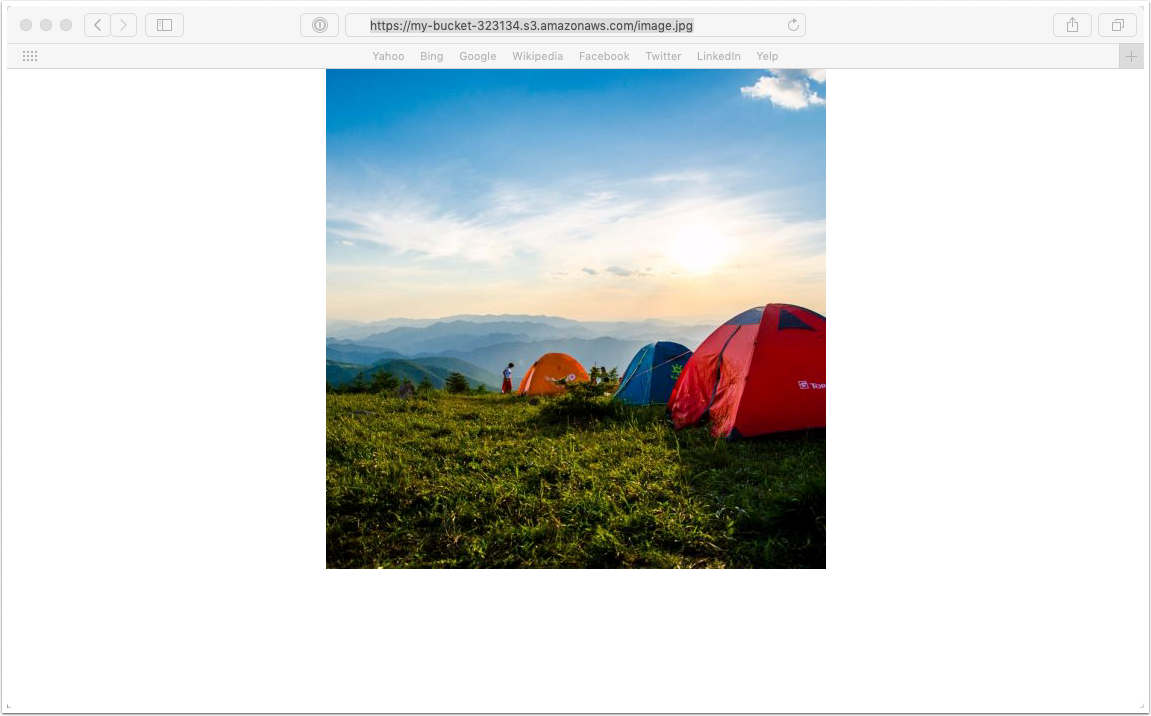
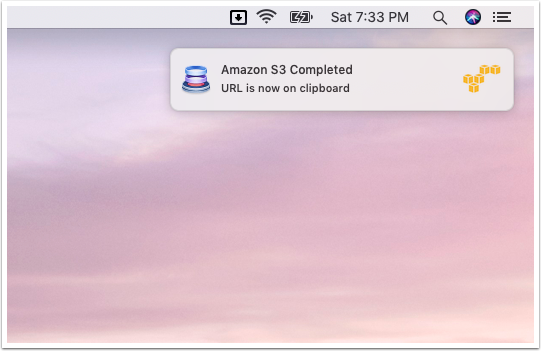
When upload is complete, Dropzone will show a notification and the URLs of the uploaded files will be copied onto the clipboard
You can now paste the URL(s) of your uploaded files into another application